Prairie River Bridge | Steel Towers
Jan 29, 2023
Introduction
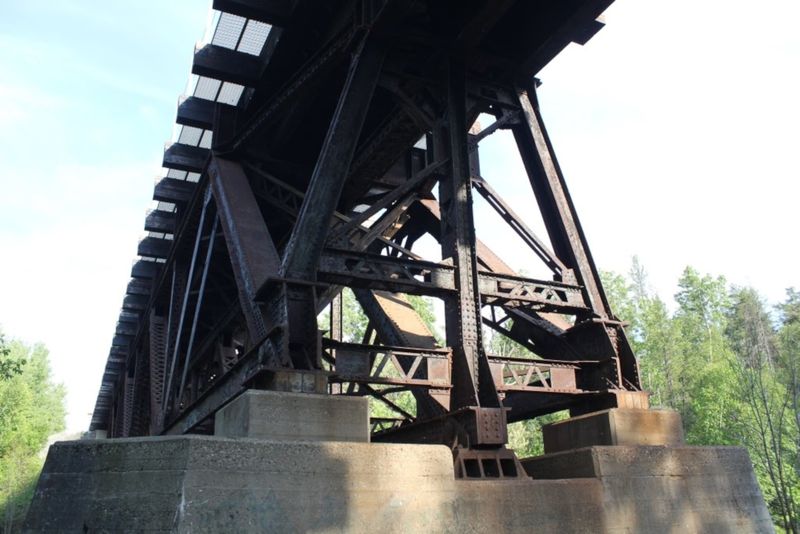
In the previous post of the Prairie River Bridge series, I added the internal braces to the three trusses. In this post, I will be assembling the steel towers that go on each end of the main span. Each tower consists of steel posts, connector plates, cross beams, sway braces, and several other details. The center posts were added to the prototype steel towers in 1929 as part of the strengthening project as shown in the picture below by John Marvig.
Steel Posts
The steel posts have an interesting design. From the front of the towers, they look like rolled steel channel, but when viewed from the side of the towers, there is a gap that does not go through to the other side. Looking closer at the "channel", there is a seam down the middle indicating that the steel posts are actually fabricated from two "U" channels that are rivetted back-to-back. For each steel post, two "U" channels are fabricated from five 0.025" strips of 0.010" styrene from Evergreen Scale Models as shown in Figure 2.
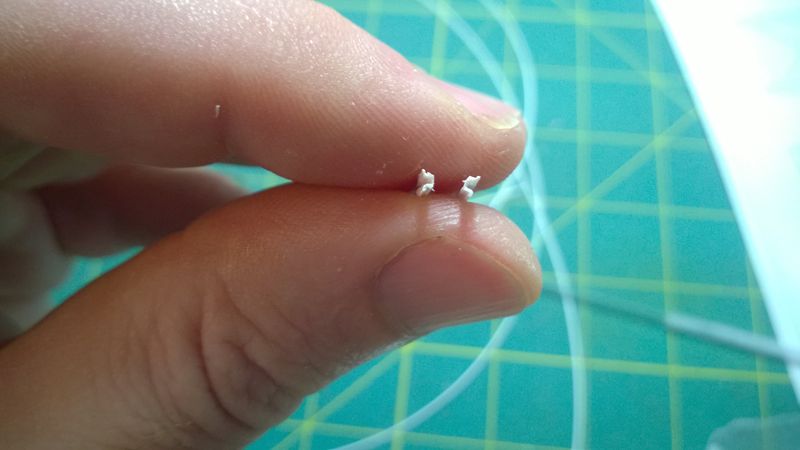
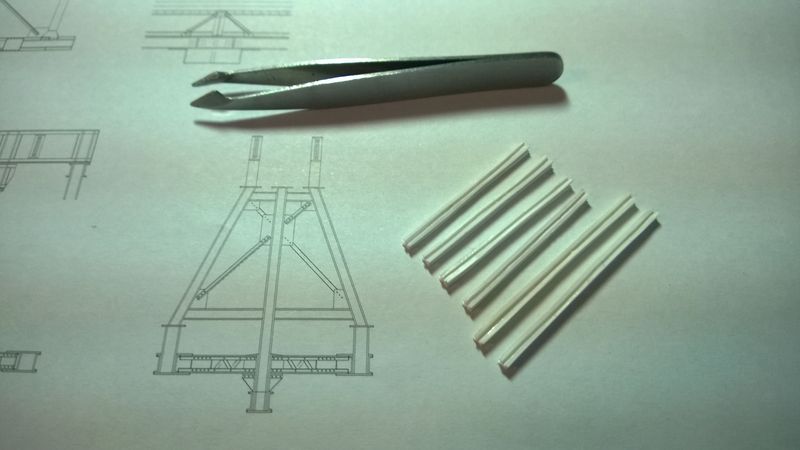
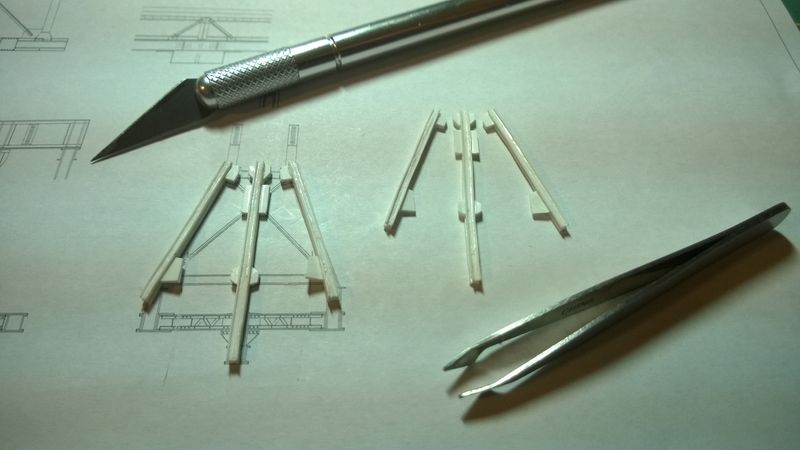
The "U" channels are glued back-to-back to create six steel posts as shown in Figure 3. The steel posts are cut longer than necessary and then cut to length before adding connector plates. The bottoms of the outer posts sit on top of the gussets on the outer trusses. The center posts are about five scale feet longer than the outer posts since they connect between the gussets of the lower center truss.
Connector Plates
The steel posts are cut to length and connector plates are added as shown in Figure 4. Connector plate are cut from 0.010" styrene and fastened into the gaps on the sides of the posts. There are two connector plates at each location. The gaps are 0.025" wide so there is about 0.005" separation between the two plates. Girders and sway braces are fastened to the connector plates.
Cross Beams
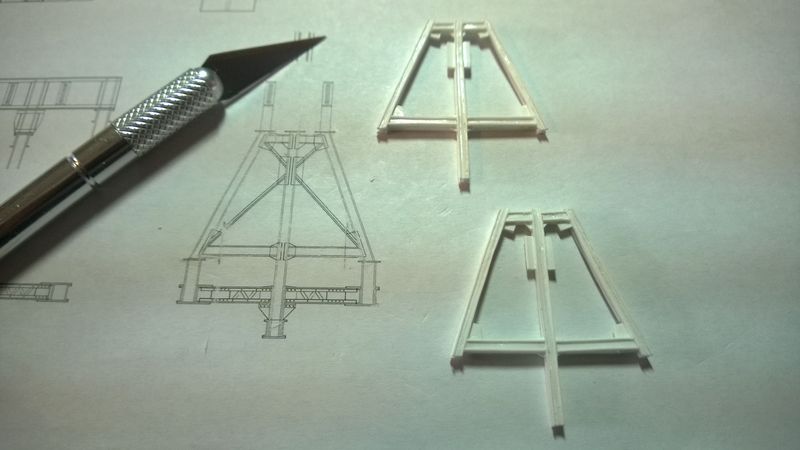
The cross beams on the prototype are laced but they are below the threshold where lacing is feasible in N scale. Cross beam channels are fabricated from 0.055" and 0.025" strips of 0.010" styrene. Flange pieces are glued to the sides of the web pieces to create 0.075" x 0.025" channels. Cross beam channels are cut to length and glued to the tops of the upper and lower connector plates as shown in Figure 5. Another set of cross beam channels is fastened to the connectors on the back of the tower.
Sway Braces
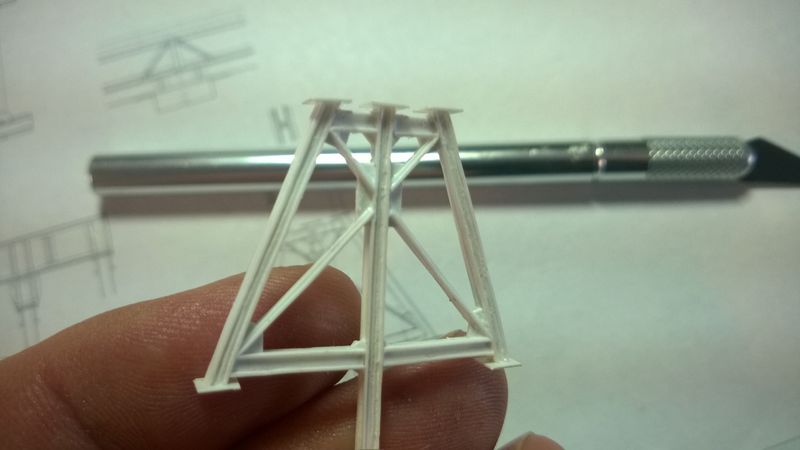
Sway braces are "L" girders fabricated from 0.025" and 0.015" strips of 0.010" styrene. They are cut to length and fastened between the corner connector plates and the connector plates in the middle of the center posts as shown in Figure 6. Another set of sway braces is fastened to the connectors on the back of the tower.
Final Details
Several thin layers of DecoArt Americana Burnt Sienna acrylic flat base coat are applied to the gaps in the steel posts and between the cross beams and sway braces. Five scale 2' x 2' plates cut from 0.010" styrene scrap are fastened to the tops of all the posts and the bottoms of the outer posts. The top plates will support the final stringers of the main span and the plate deck girder approach spans. The bottom plates attach to the tops of the end gussets on the outer trusses.
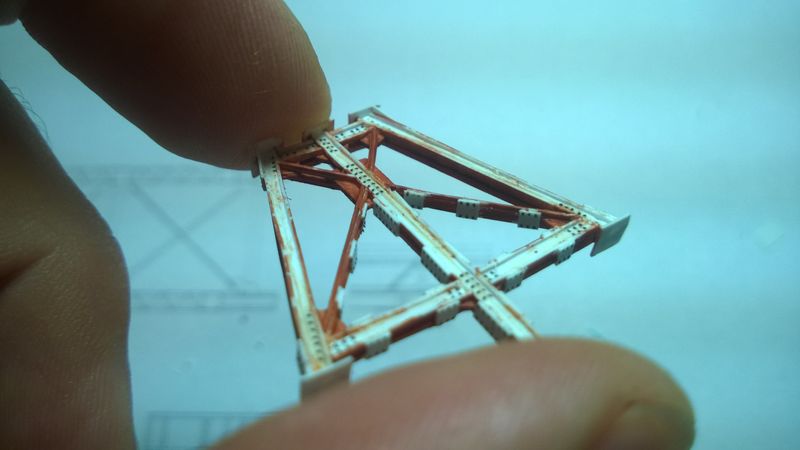
Several plates are cut from 0.010" styrene scrap. Fourteen scale 1' x 1' plates are added to the top and bottom of the lower cross beams and to the bottom of the lower sway braces. Eight scale 1' x 2' plates are added to the sides of the center post and bottom outside of the outer posts. Two scale 2' x 2' trapezoidal plates support the two top plates on the outside of the outer posts. Archer Fine Transfers N Scale Resin Rivet decals are applied to the plates and to the sides of the posts as shown in Figure 7.
Conclusion
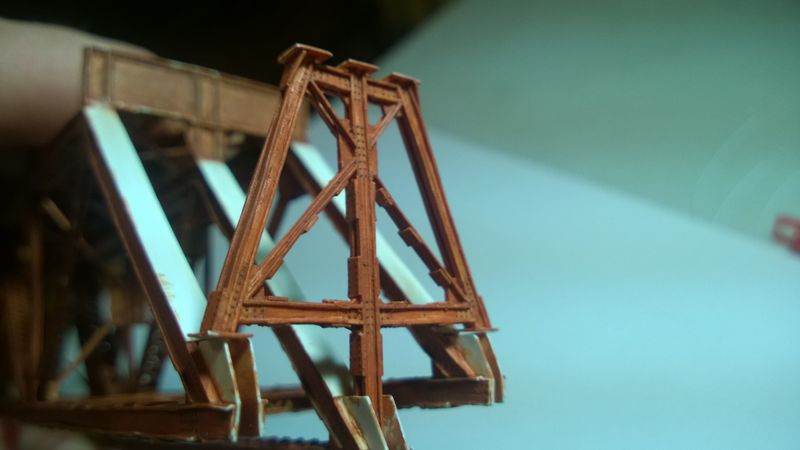
I gave everything several thin layers of base coat and after they had dried, test fit them on the end of the main span as shown in Figure 8. I won't attach the steel towers until after the back plating on the three truss end posts have been riveted and painted. I also need to add the large sway brace girders across the ends of the outer truss end posts which will probably be the focus of the next post in this series. Until then, stay tuned!
